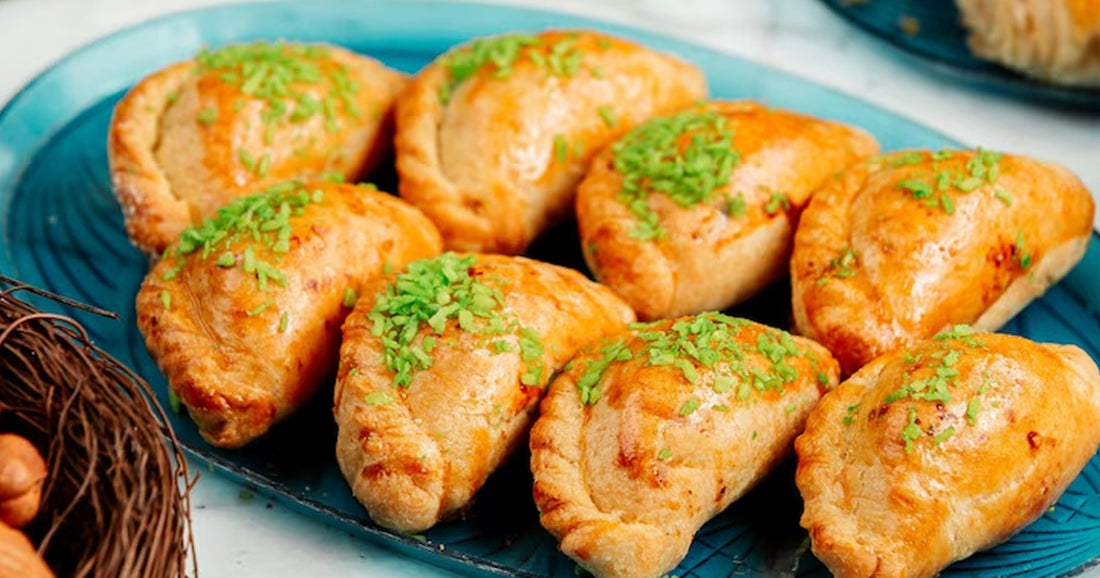
Air Fried Karanji
Share
Air Fried Karanji: A treat that bridges generations with its traditional roots and innovative preparation.
Ingredients:
- 1 cup All-Purpose Flour (Maida)
- Pinch of Salt
- 1 tbsp Milk Powder
- 2 tsp Ghee or Oil
- Warm Water (as required to knead a soft dough)
- 1 cup Khoya/Mawa (grated)
- 1/4 cup Desiccated Coconut
- 2 tbsp Sesame Seeds
- 1/4 cup Jaggery
- 1 tsp Cardamom Powder
Directions:
- In a mixing bowl, combine All-Purpose Flour (Maida), a pinch of Salt, Milk Powder, and Ghee or Oil.
- Gradually add Warm Water and knead to form soft dough.
- Grease the dough with some oil, cover it with a damp cloth, and let it rest for at least 30 minutes.
- Dry roast Sesame Seeds in a pan for about 2 minutes until they start changing colour. Set aside.
- Dry roast Desiccated Coconut in the pan until it becomes aromatic. Set aside.
- Grate the Khoya and gently roast it on low-medium heat until it softens. Set aside.
- In a mixing bowl, combine the roasted Sesame Seeds, Desiccated Coconut, grated Khoya, Jaggery, and Cardamom Powder to make the filling.
- Take small portions of the rested dough and roll them into small circles of about 2-3 inches thickness, thinner towards the edges.
- Place a small portion of the prepared filling in the center of each rolled dough circle.
- Apply water along the circumference edge of the circle using your fingers.
- Gently fold the dough over the filling to form a half-moon shape. Press the edges to seal them well. You can use a knife to create a decorative design on the edges.
- Preheat your air fryer at 200°C for 4 minutes.
- Grease the air fryer basket with a little oil and place the Karanji in it. Also, lightly grease the tops of the Karanji.
- Air fry the Karanji at 200°C for about 10 minutes.
- The Karanji should be crispy and golden brown on both sides.
- Once cooked, remove the Air Fried Karanji from the air fryer.
- Let the Karanji cool down a bit before serving.
- Serve this crispy and delectable Air Fried Karanji as a delightful treat during festivals or special occasions.
Recipe Credits: thefoodiesyndrome
Picture Courtesy: Image by KamranAydinov o Freepik
